


 I spent some time this weekend FINALLY organizing my workroom, or trying to at least. The poor room has been in shambles since February, which is when I started on the gluten testing (and got super sick and weak). I had been just throwing stuff in boxes on the floor or on the table. Nothing was where it was supposed to be and it was starting to get out of hand. How could I start working again if I couldn’t find anything?
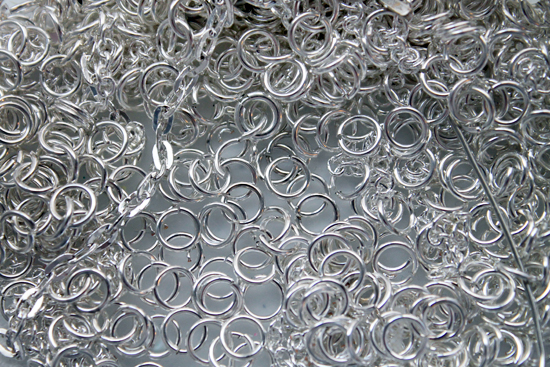
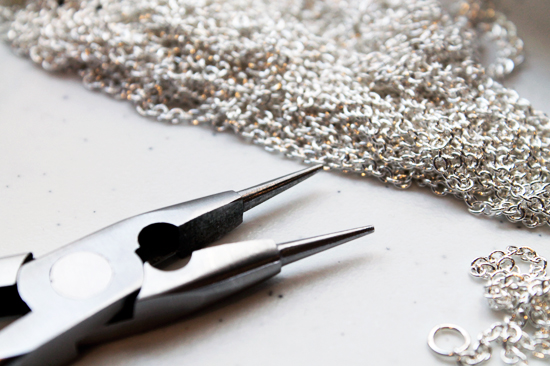
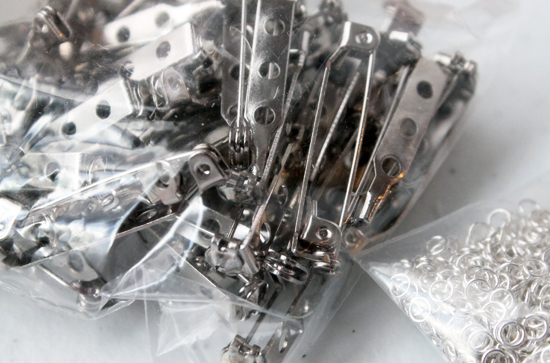
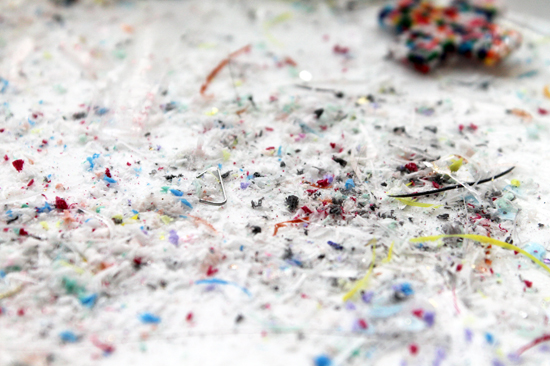
I wish I could say I finished the room, but if that was true, you would see more than close up pictures! I still have a lot of work to do. I need to install some more shelves in the closet for supplies that are only used every so often. I need a few more containers for scrap fabric (all the blue and green fabrics are just in piles until this happens). I need to get all my quilting fabric on bolts and out of the baskets to make room for more apparel fabric (I have plans). I need to transfer all my beading supplies to one area. I need some actual lighting and maybe a chair? Ha. yeah, that’s the state of things, I don’t even have a chair!
I’m also thinking of doing some cosmetic things in the room, just to make it pretty to me. I was thinking last night about maybe a chalkboard wall? I have one in my kitchen and love it, but I’m a bit worried about a mess. The one in the kitchen leaves chalk dust all over the baseboards and wood floors. It’s easy enough to clean up, but I don’t know how easy that would be on carpet. Has anyone else had experience with this? How about Chalk Pens? Maybe they wouldn’t have the dust? (I think I have one around here somewhere to try out)
Once this room is done, just like the kitchenette, I’ll share more photos!!
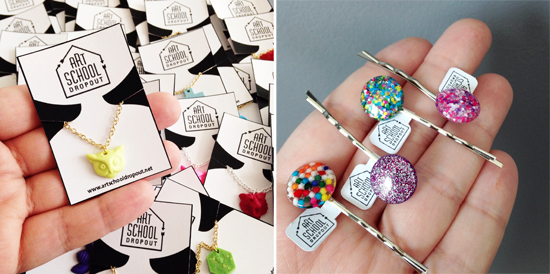
Oh and friendly reminder! make sure to check out yesterdays post where you can win a Blue Garden necklace, just by telling me your favorite color combo!
Pin It


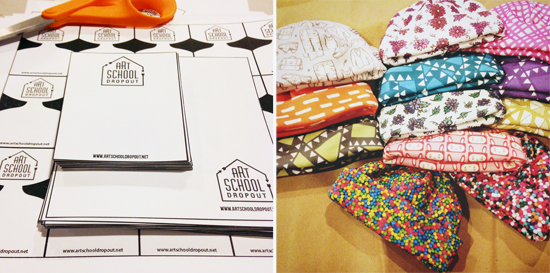


 I had a lot of fun coming up with new designs and trying to figure out how to make a display that would fit in my suitcase. The show itself was sort of a bust (I’ll talk more about that later) but the trip was great! I can’t wait to share more.


