
Early last week I was contacted by my “handler”, Jeana, over at Silhouette America and was asked if I would like to make a quilt for them. It would need to be finished pretty quickly and would need to showcase how to use their products in quilts. The icing on the cake? It would be used in their booth at the spring International Quilt Market. Yeah, that last sentence made me say “YES! of course!” as quickly as my fingers would allow.
If you’ve been reading my blog or following me for a bit, you know I am a huge fan of fabric! I love sewing with it, designing it, and just plain touching it! (not in a creepy way, I promise) So of course I’ve always wanted to GO to Quilt Market. It’s not open to the public and you need to have credentials to go, so of course I haven’t had the chance YET. So the idea of something I made going instead was the next best thing.

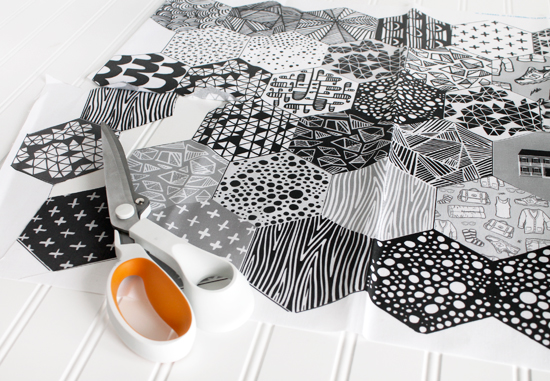
 I used this cut file from the Silhouette Design Store and cut it all using my Portrait and Silhouette’s sewable interfacing (that they provided). If I had tried to cut out those letters by hand it would have taken me FOREVER! With my Portrait it only took about an hour. Most of that time was spent ungrouping the letters and figuring out the best way to utilize my supplies.
 I could have just used a solid piece of fabric for the background, but can you imagine trying to line up letters on solid fabric? Let alone patterned fabric? I chose to do 4″ squares in an assortment of, low volume, gray fabrics. They add a bit of whimsy to the quilt AND gave me a built in grid to work with. I also set up the cut file in Silhouette Studio on a grid that mimicked the quilt and printed it out as a guide. I doubt I would have been able to line everything up without it.
 To attach all the letters to the background I pinned the quilt top to my ironing board, while using my clear grid ruler to square everything up. This process made it so I could only do one line at a time, which is another reason I’m glad I had the guide! I knew that If I followed it, every line would match up with the one below it. It did!
I used a dry iron and made sure to give attention to each letter so they were secure and could deal with lots of manhandling (aka: quilting). After each letter was ironed on and cooled down, I went right ahead and started stitching a straight line 1/8″ inside each letter. I felt like the top stitching gave it a neat look AND secured the letters in case I missed a spot ironing. This was probably the longest process, but it was worth every second.
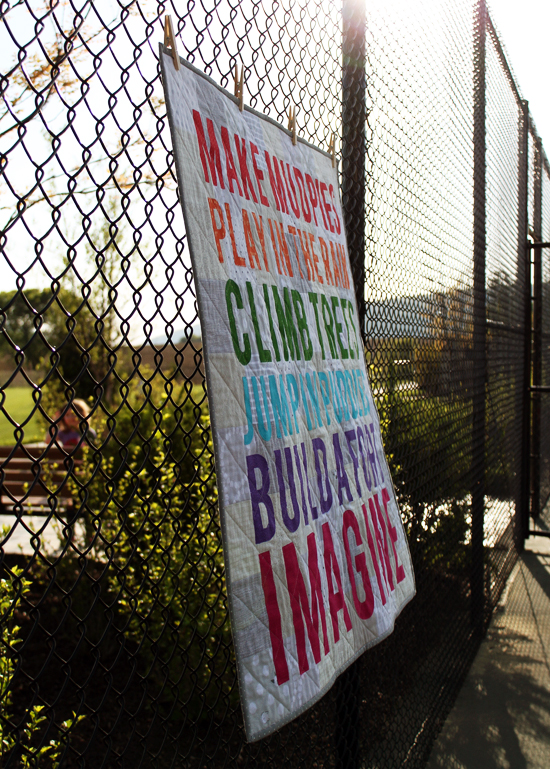
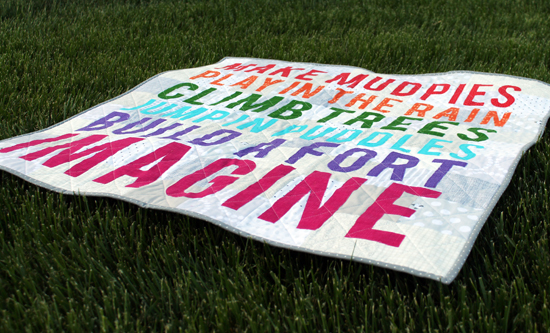 As for quilting the whole thing, I went super basic! I used the background squares as a guide one last time and just stitched across them like a chain link fence. I kept the binding neutral again, using a gray polka dotted fabric, because I wanted to words to stand out as much as possible. It was their show, not the rest of the quilt! It was just the back up singer. Oh and the back is a nice black essex dyed linen, super simple.
I am so happy with the outcome of this quilt! I feel crazy for finishing it as quickly as I did, but it was worth all the hard work. I really wish I had taken more progress shots though. I feel like this would have made a nice step by step tutorial. Should I make another, smaller one, to show the process? Would anyone be interested in that?
Disclaimer: First off, I only used the phrase “handler” because it’s funny to me. Also, I THINK this would be considered a sponsored post. I’m not sure. Silhouette provided the supplies but in the end the quilt is theirs, forever. So maybe it’s a gray area? Though even if they hadn’t provided the supplies, this style quilt was still on my to-do list. Ugh, the rules of the internet are weird…
Pin It


